Step 1: Cut out the covers and pages.
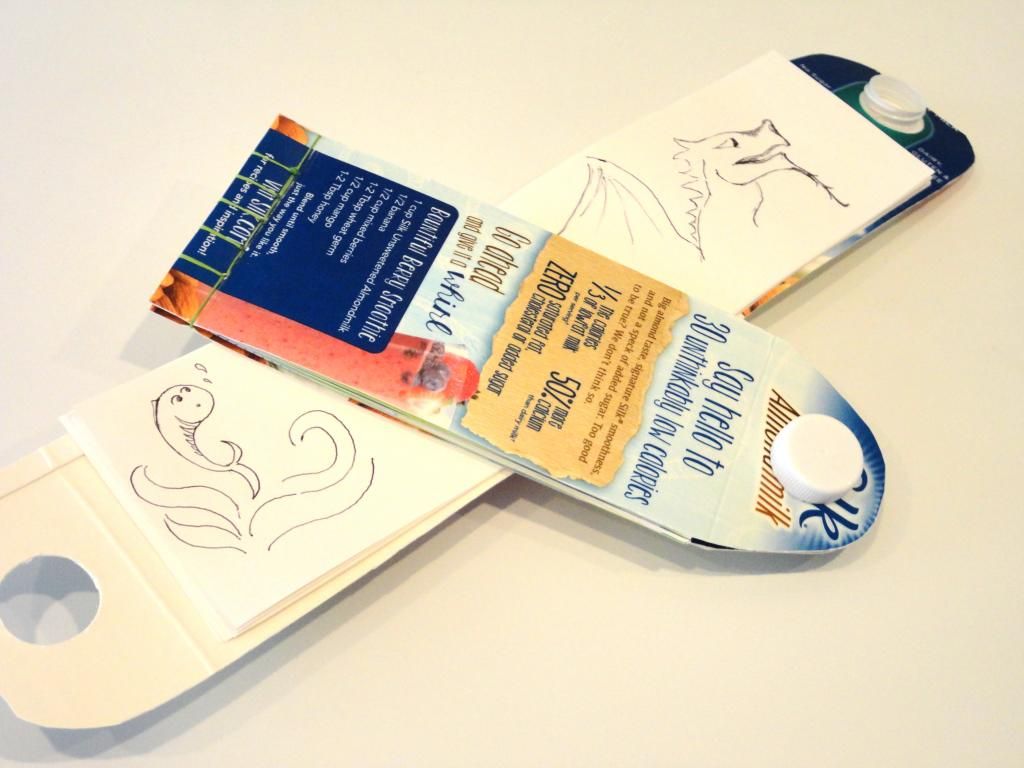
Cut the front and back panel off of a clean half gallon milk carton. The front of the carton will be the back. The back will be the front of the book.
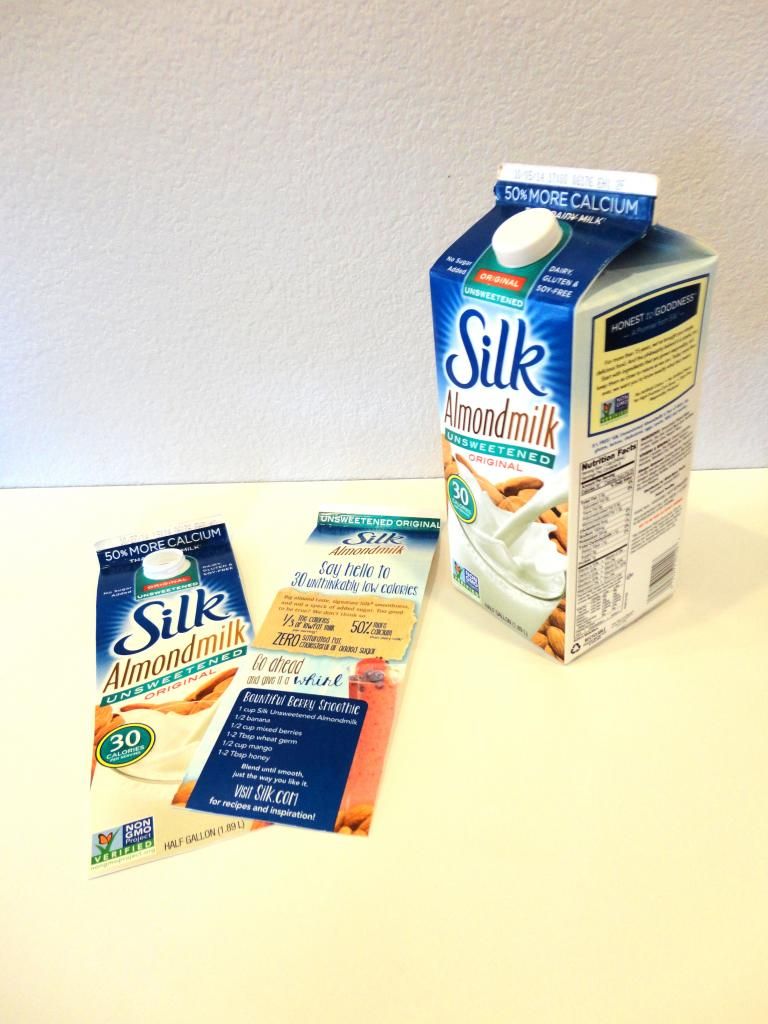
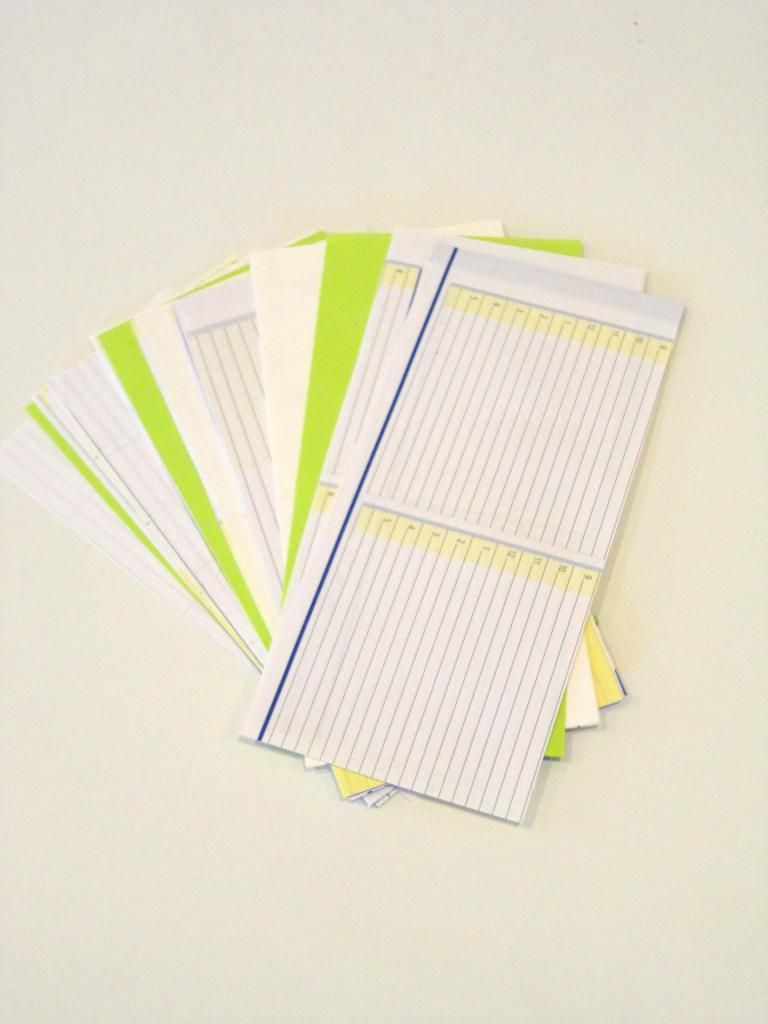
Cut your gleaned pages into rectangles that are 7 and 1/2 inches by 3 and 1/2 inches. You will need 20 to 30 pages this size.
Step 2: Create the enclosure.
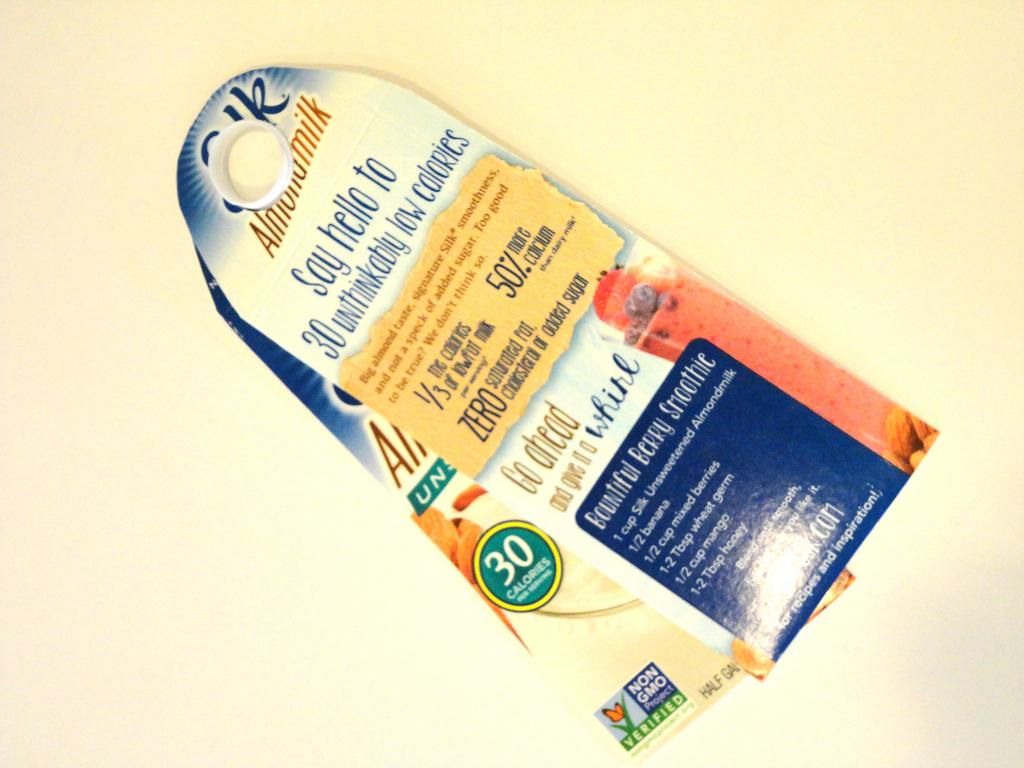
Line the covers up and trace the inside of the spout on the back cover onto the front cover.
Using a craft knife, cut an "x" in the middle of the circle you just drew to allow you to get a pair of scissors in. Cut the hole out. Keep trimming slightly until the hole fits easily onto the back cover spout.
Trim the top of the front cover with rounded edges, keeping 1/2 inch of cover between the enclosure and the edge. Put the covers together and trim the top of the back cover to match the front.
Step 3: Give the spout a backing. (Optional)
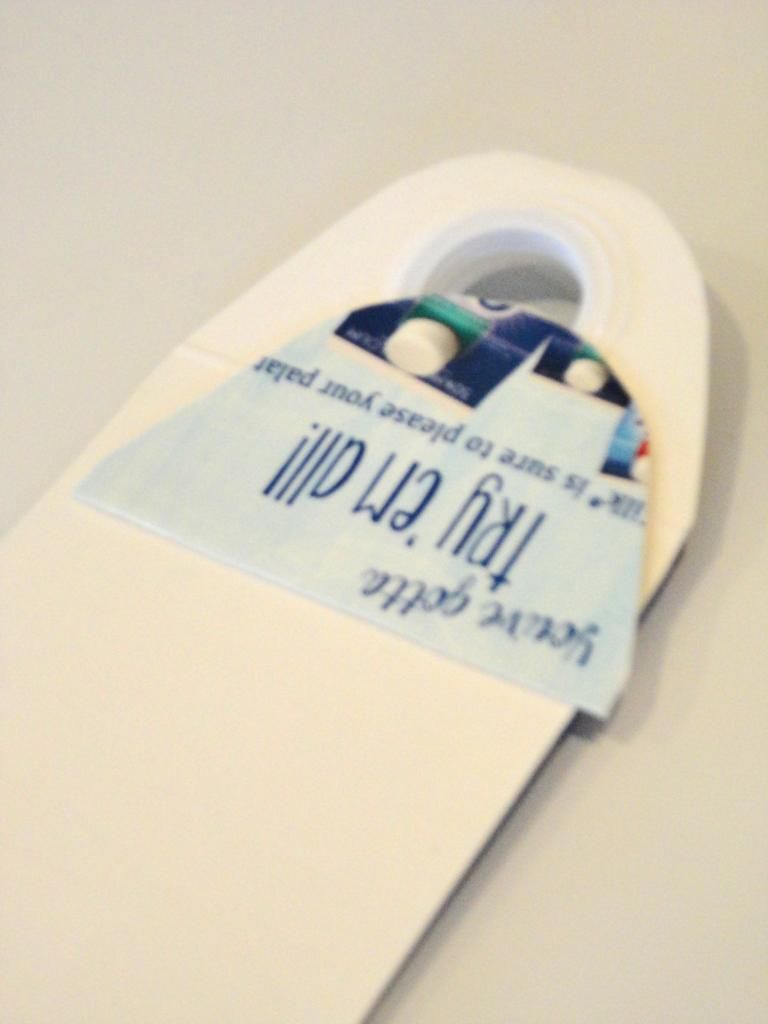
Cut out a rectangular piece of the side of the milk carton that is 2 and 1/4 inches wide. Trim it to match the back of the back cover.
Glue it on, flush with the rounded top of the back cover. Placing no glue where the spout goes. I have used hot glue for this, as well as super glue, whatever holds my vending machine quarters inside.
Step 4: Make the Binding Holes Template
Grab one of the book pages and draw a vertical guideline ½ inch from the left hand side.
Then mark the holes on the guideline in fairly equal increments. For this one I did the first one ½“ down, then the rest are ¼” apart leaving a ½” space at the bottom.
To create the actual holes, you can use either a heavy duty hole punch (with a small hole) or an awl.
If using a:
a) Small hole punch-punch a hole where the lines meet.
b) Awl-cut wedges on the bottom left of the guidelines. This makes makes it easier to see where holes are going.
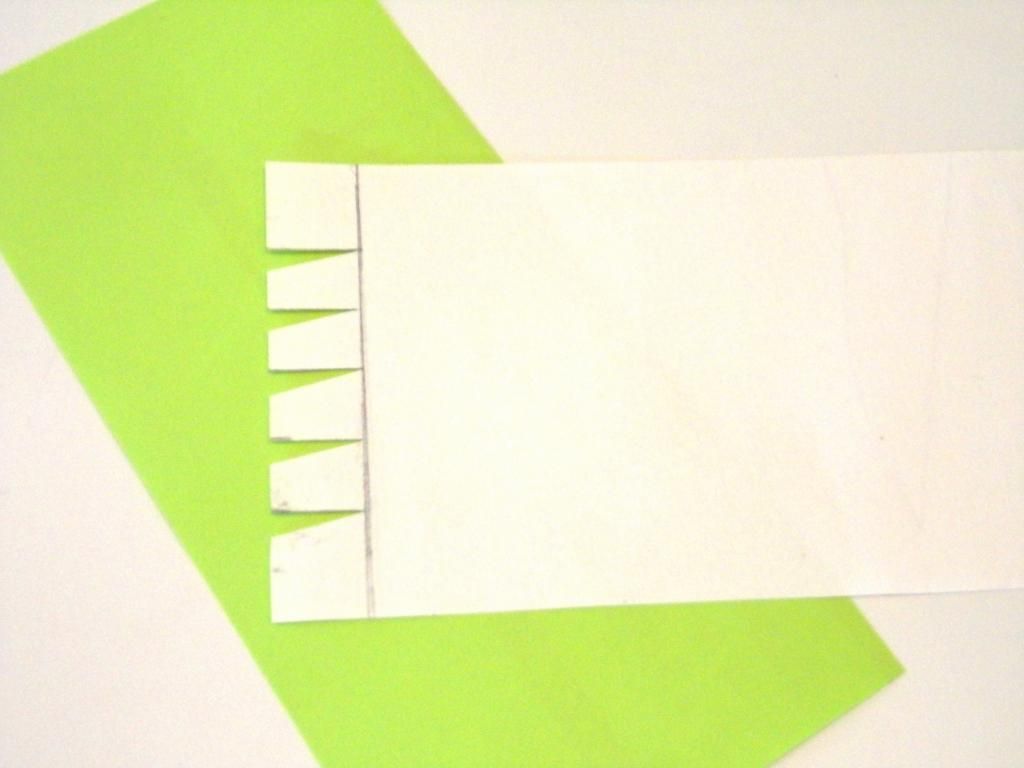
Step 5: Make binding holes in cover and pages.
Place template flush with the end of the cover and centered with the top and bottom. Make the holes in the front cover.
Use the front cover as the template for the holes in the back cover. Make sure to line up the correct sides.
Make holes in your paper, using the template as your guide. With an awl, I could easily punch holes in 3 pages at a time.
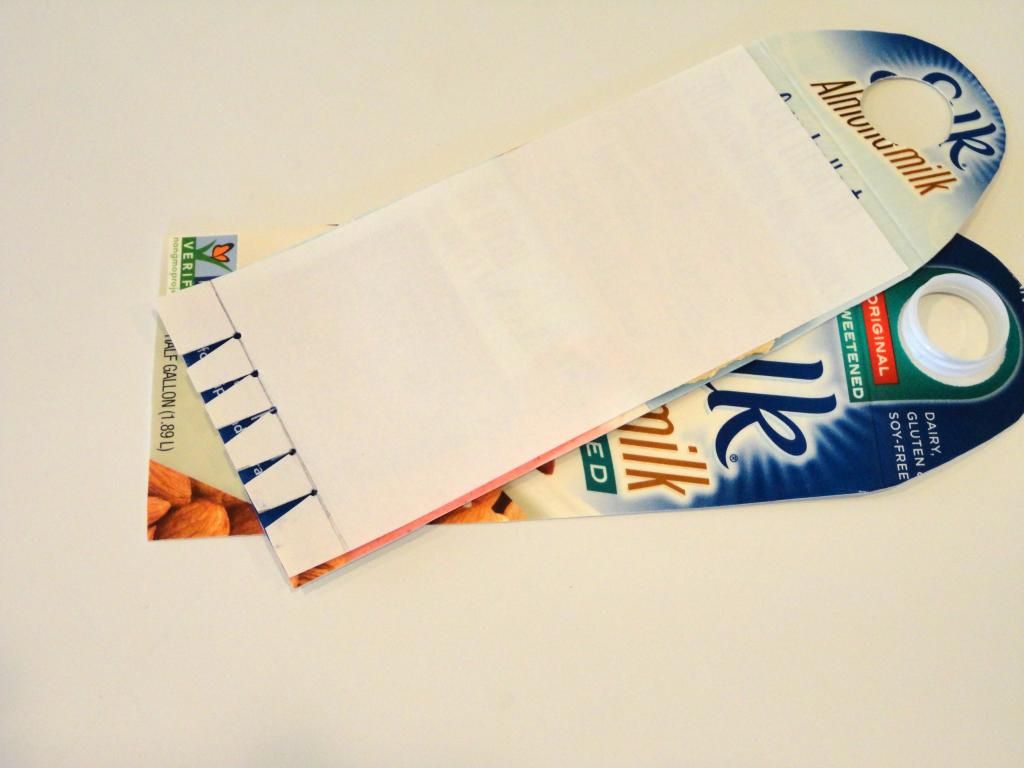
Step 6: Start sewing.
Place the pages inside the covers, lining up holes.
Thread an embroidery needle with embroidery floss and thread through the back of the book. You may need to go through afew pages at a time with this first hole.
Leave 6 inches of floss hanging out the back to be able to tie it off later.
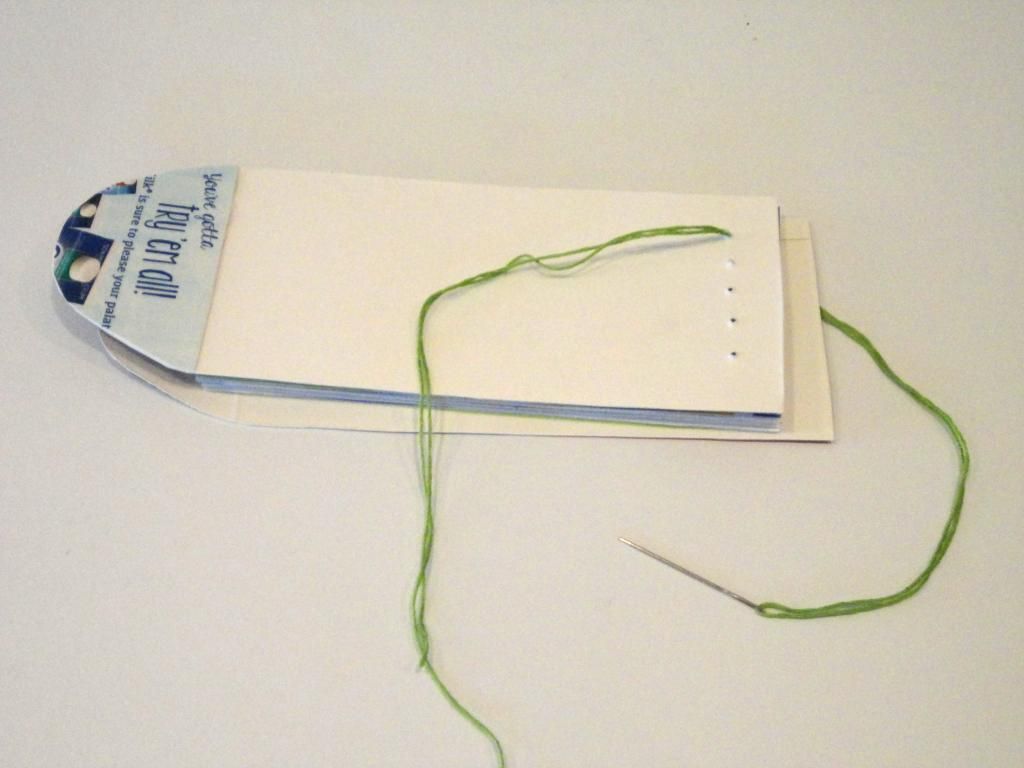
Step 8: Sew across one way.
Make sure papers are flush with the spine.
Loop the floss around the long side of the book, and then back through the hole you started from.
Loop the floss around the spine, and back through the same hole. (Tip: if it ever becomes too difficult to pull the needle through the hole, use a pair of needle nose pliers to pull the needle through.)
Thread it into the adjacent hole. Loop it around the spine, and back into the same hole.
Continue the "step over to the adjacent hole and the loop it" for the next three holes.
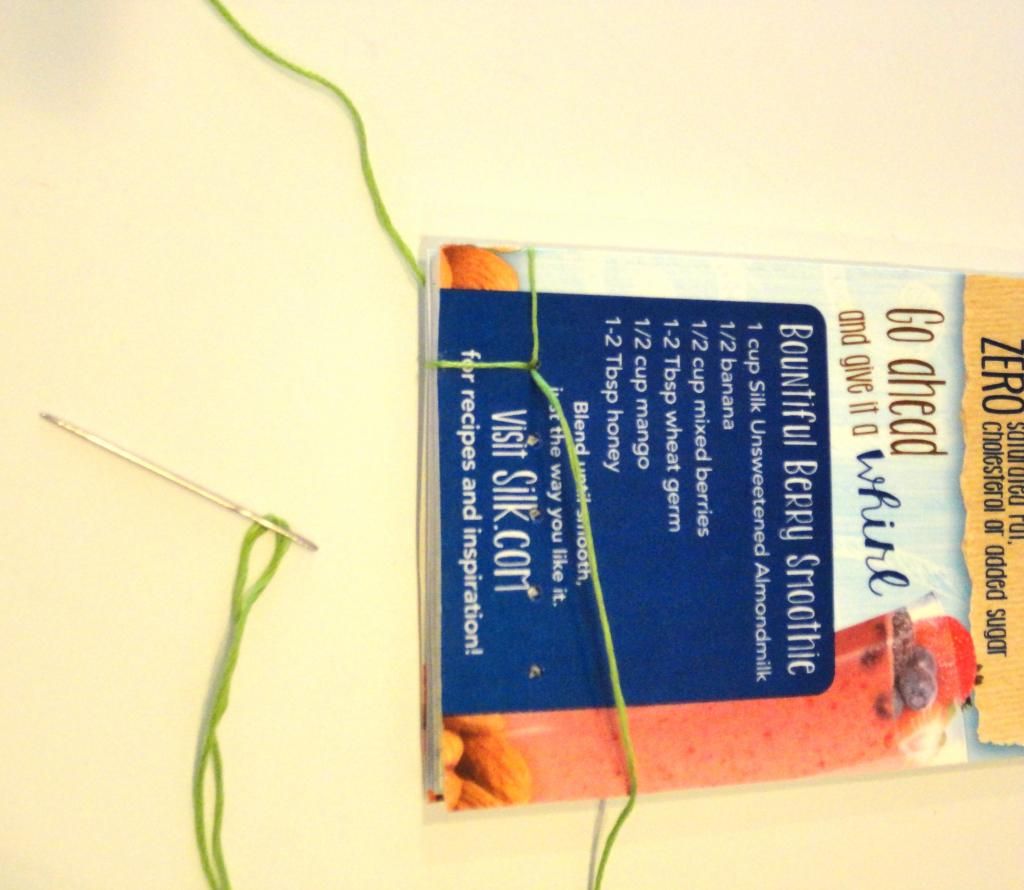
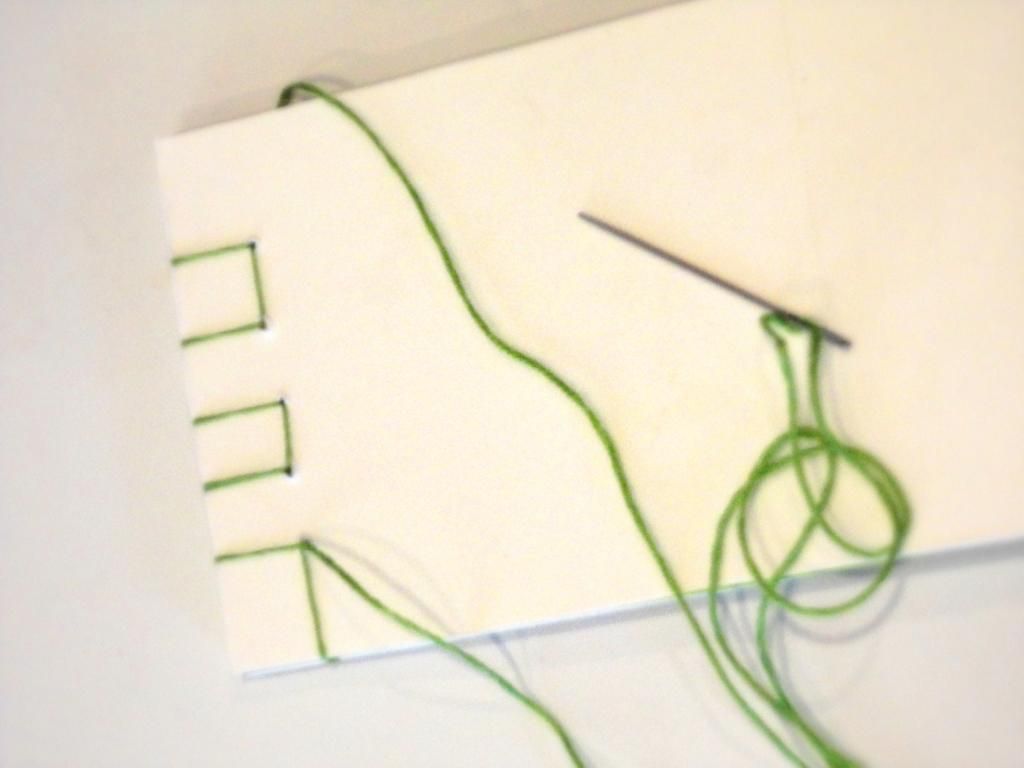
Step 8: Sew back to starting point.
Loop floss around the long side of the book and return it to the hole it come out of.
You will now be repeating the same steps of crossing to adjacent hole and looping until your floss meets the 6 inch tail that was left in the back.
Tie a tight square knot with the two ends, as close to the binding and the starting hole as possible.
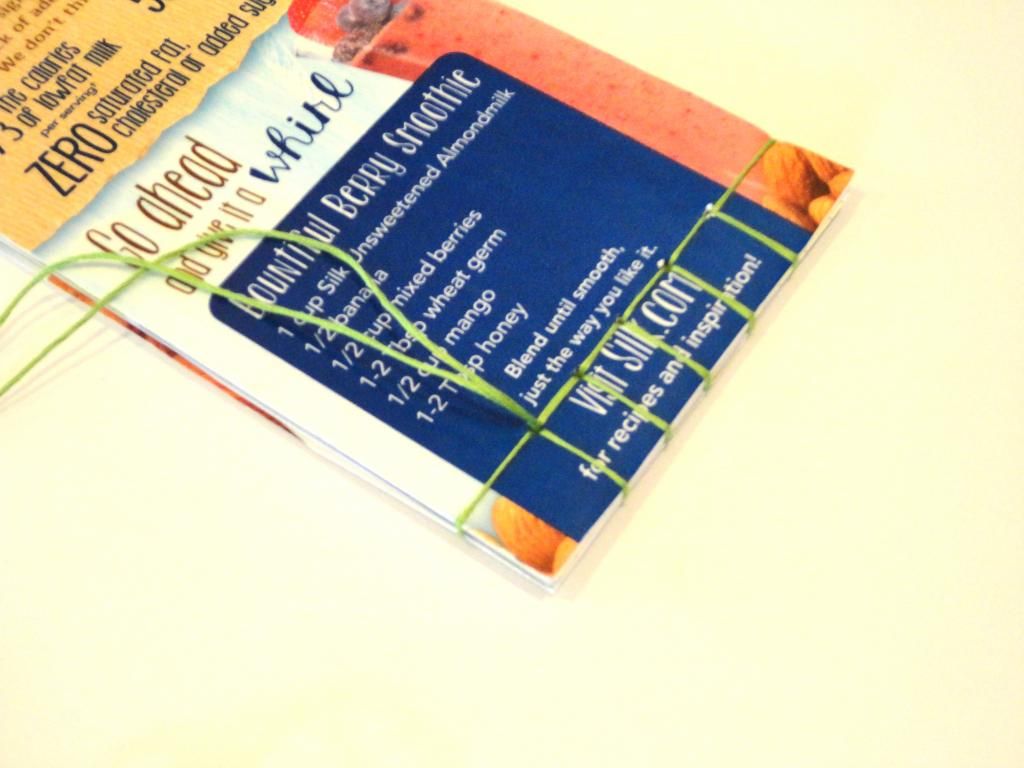
Step 9: Finish up.
Using needle, pull the loose ends of the floss through the hole to the front of the book and trim them closely.
Score the front cover for ease of opening. Hold a ruler perpendicular to the binding, about 1/8 inch away, towards the enclosure.
Run a blunt tool like the side of awl tip or back of craft knife so that there is an indent, (but not a cut.) This makes the cover easier to open.
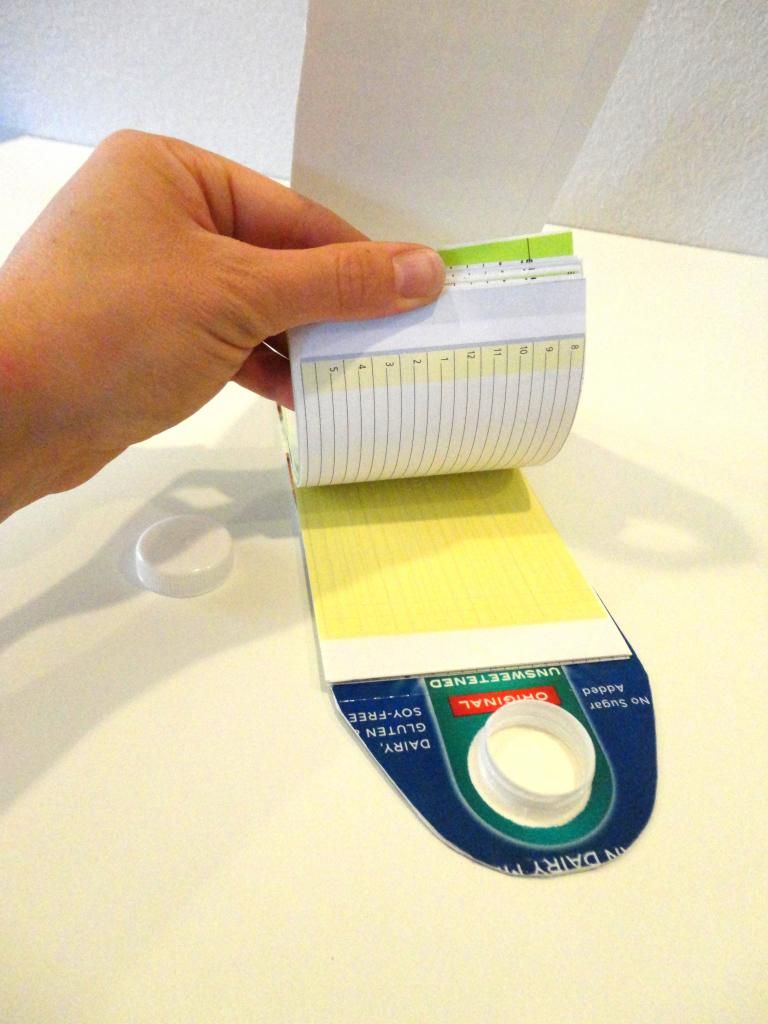
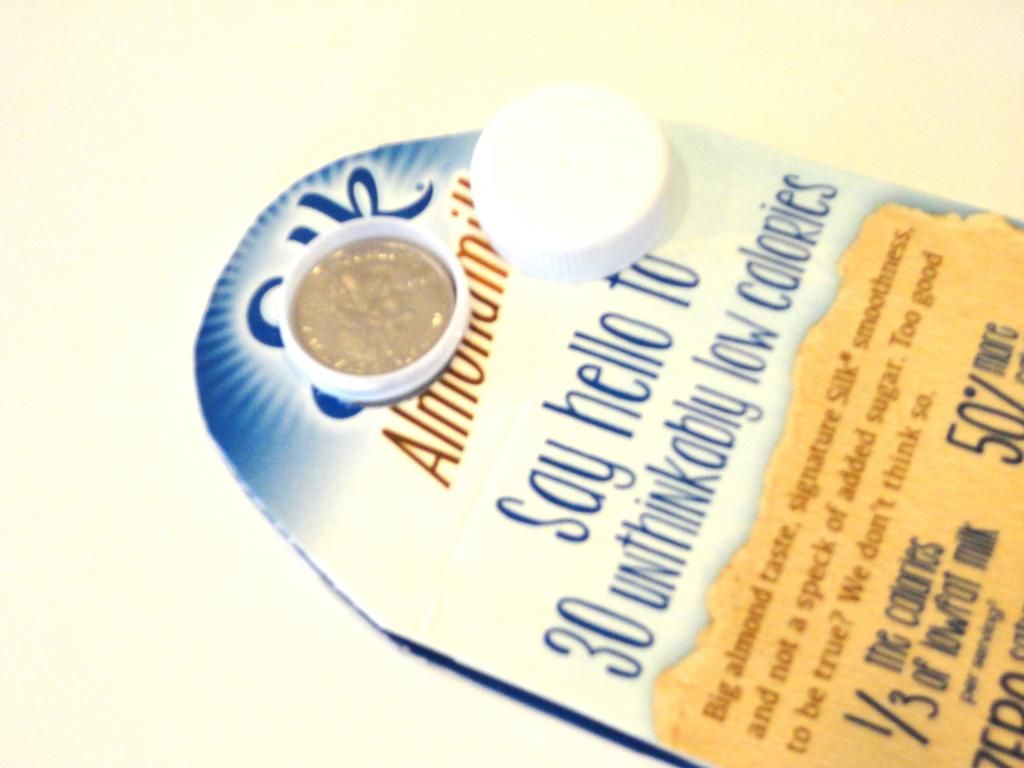
Stuff the spout with your snack quarters or a bit of artist's gum eraser.

No comments:
Post a Comment